English
 русский
 Español
 Deutsch

Content
- 1 Automann Automatic Slack Adjuster: Replace by Dimensions, Not by Brand
- 2 Why Automatic Adjustment Matters on the Road
- 3 What to Measure Before You Order
- 4 Failure Modes: Why Automatic Slack Adjusters Stop Working
- 5 Cross-Referencing an Automann Automatic Slack Adjuster
- 6 Match the Application: Trailer, American Truck, European Truck, and Beyond
- 7 Installation: The Half-Turn That Keeps Linings Alive
Fleet Maintenance: Automatic Slack Adjusters
Automann Automatic Slack Adjuster: Replace by Dimensions, Not by Brand
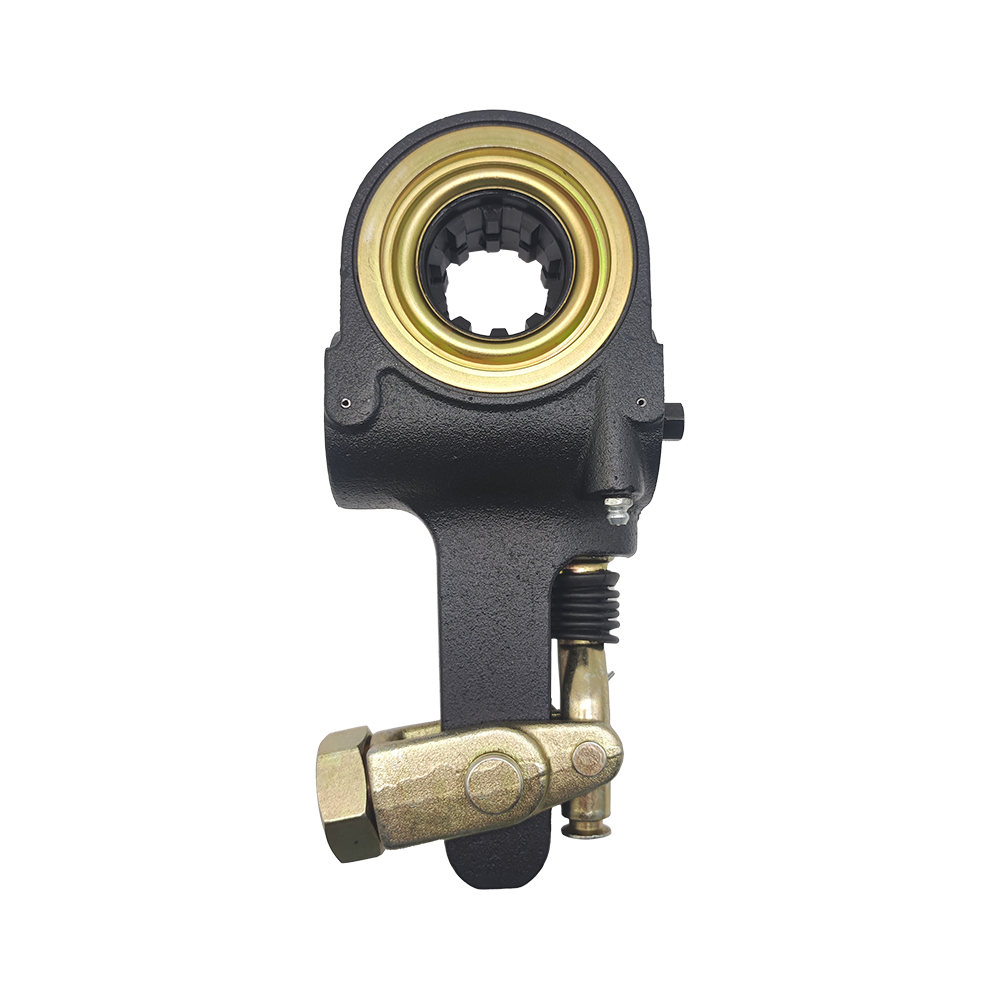
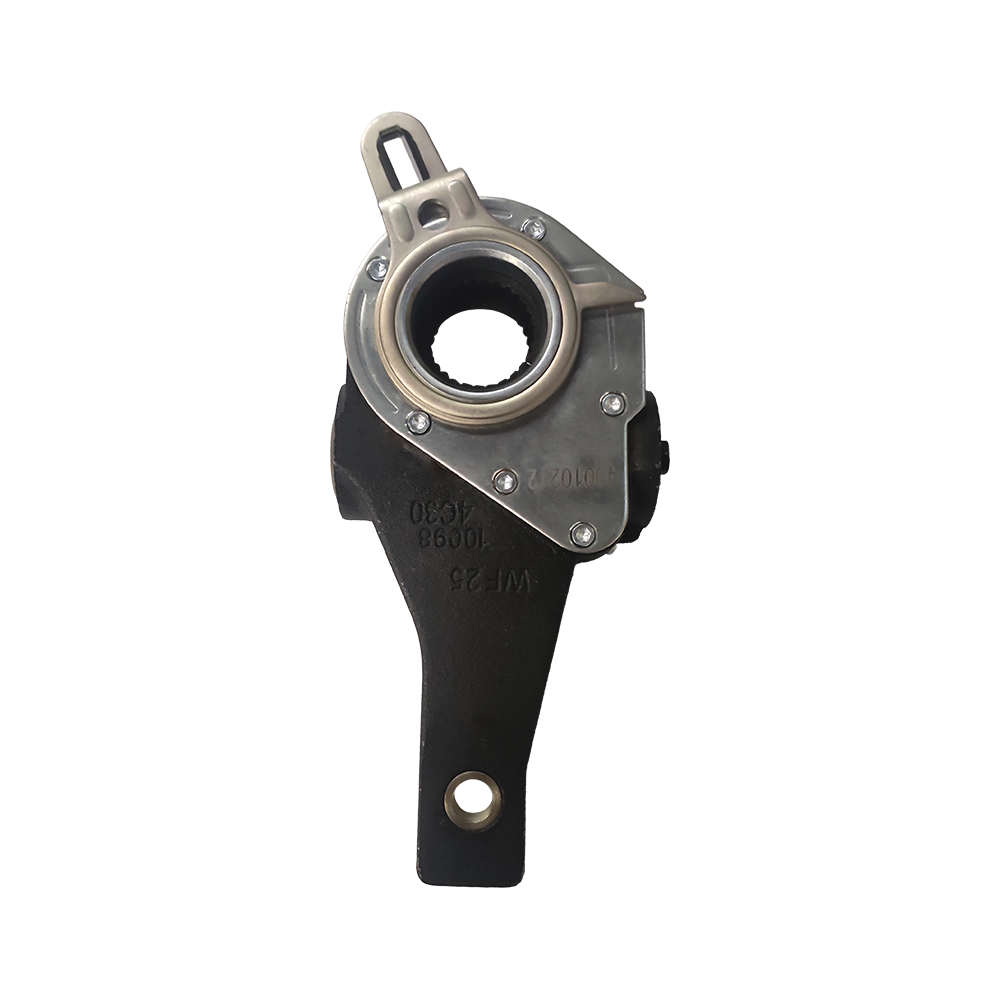
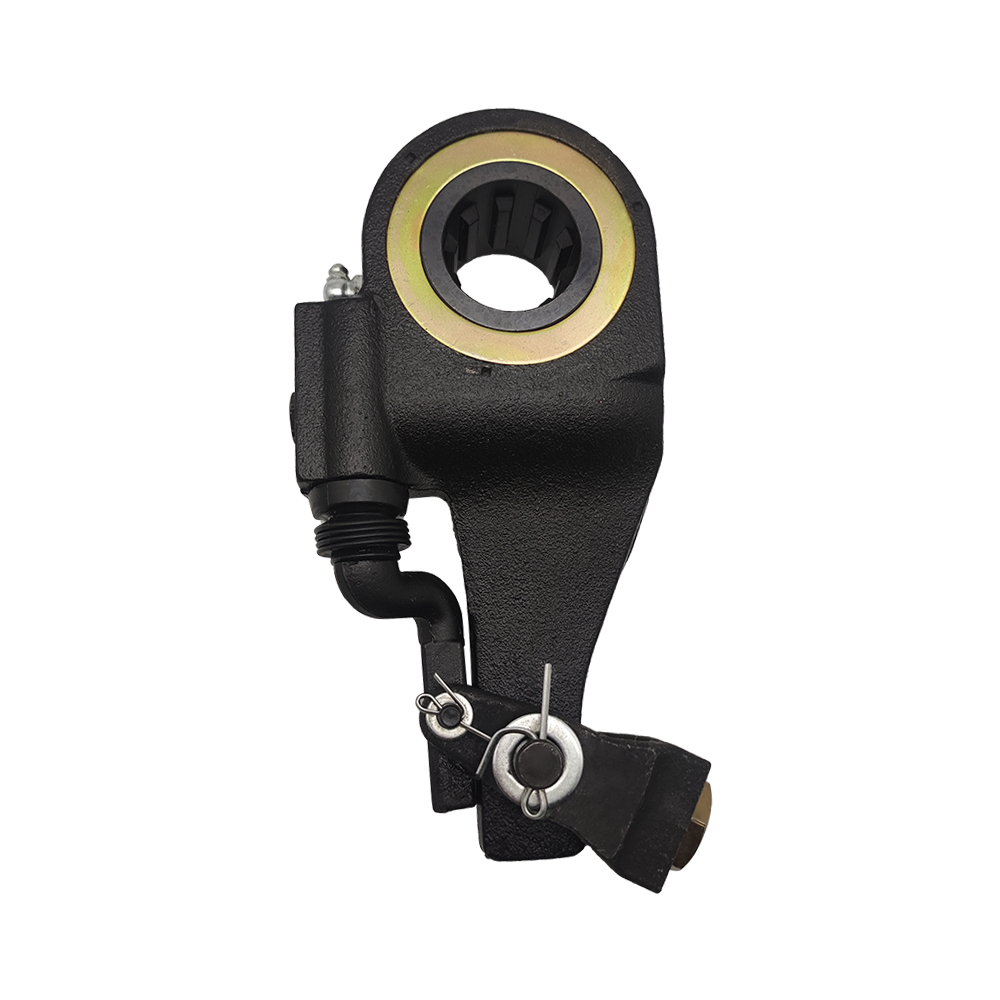
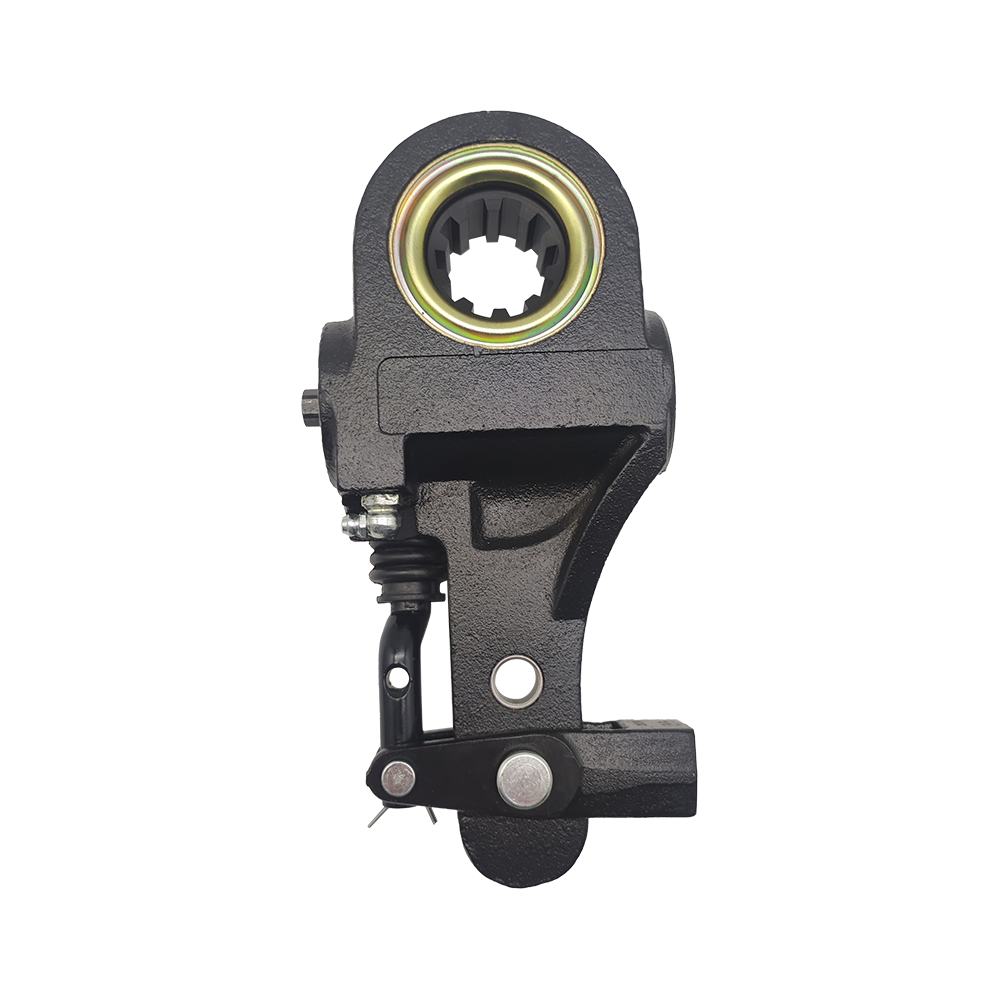
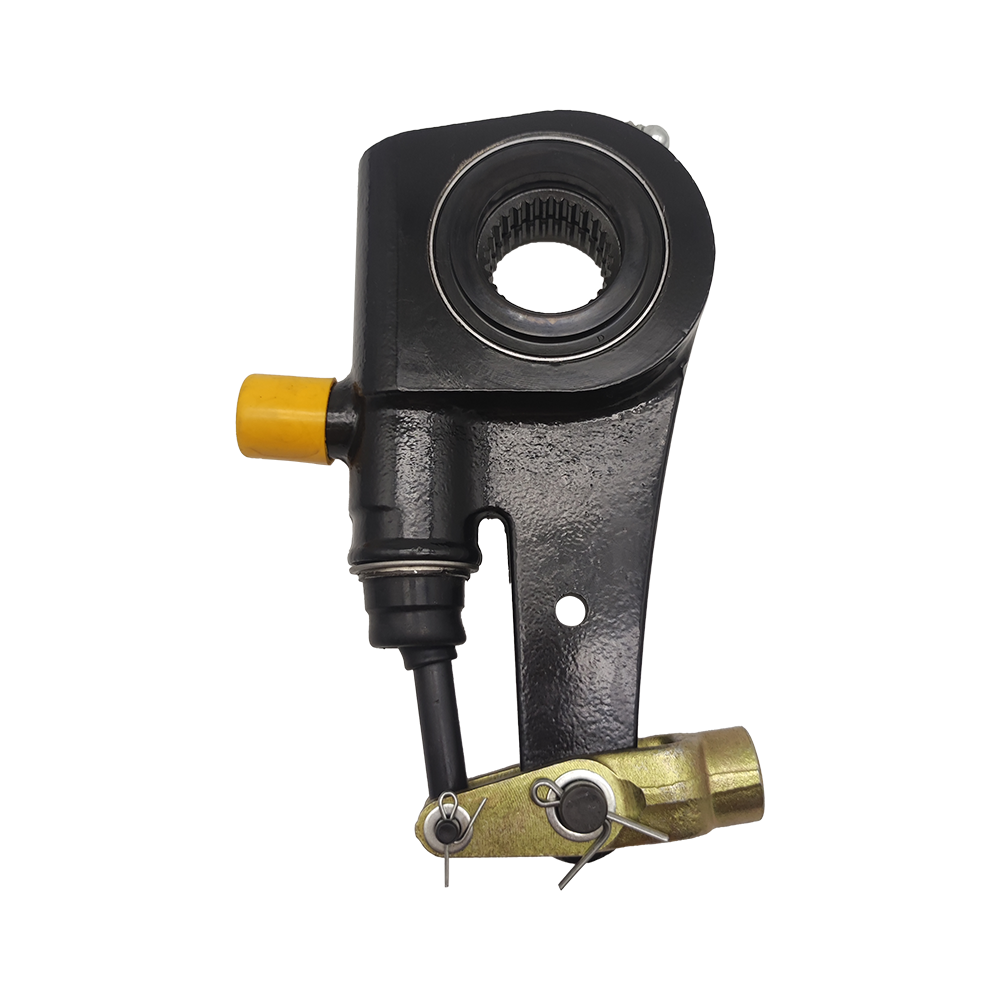
A dragging left front brake, a pushrod stroke past two inches, and a casting number that no catalog wants to answer for. When an Automann automatic slack adjuster finally wears out, the smart move is not to hunt for the same box. It is to understand the few dimensions that define any automatic slack adjuster, then order a functional equivalent.
Automatic slack adjusters are conventional engineering, even when the name cast into the body is a well-known aftermarket brand. They hold the shoe-to-drum clearance at a constant value, they fail for predictable reasons, and the replacement rules are the same for every unit on the axle. The questions that matter are whether the spline matches the camshaft, whether the arm length suits the brake chamber geometry, and whether the mounting pattern fits the existing bracket.
Why Automatic Adjustment Matters on the Road
An automatic slack adjuster sits between the brake chamber pushrod and the S-cam. It converts the linear stroke of the chamber into rotary motion of the camshaft, and on the return stroke it removes any excess travel that has appeared as the linings wear. When it works correctly, the pushrod stroke at full application stays inside a narrow band — roughly 1-1/2 to 2 in. for most heavy-duty applications — from the first day of a new lining to the last.
That steady stroke is what makes air brakes predictable. As friction material wears, the pushrod has to travel farther to press the linings against the drum. More travel means more air volume per brake application, a slightly slower response, and a pushrod that can eventually exceed the stroke limits checked during a roadside inspection. An automatic slack adjuster doing its job keeps those variables in check without the driver climbing under the truck.
Fleets that want the full picture can read how automatic slack adjusters contribute to overall brake system safety before they change their replacement policy; the short version is that a correct stroke keeps every other component in the circuit stable.
An automatic slack adjuster is not a maintenance-free part. It is a low-maintenance part that still needs one correct installation, a lubrication interval, and a stroke check at every PM.
What to Measure Before You Order
When a vehicle arrives with an Automann automatic slack adjuster that is no longer being produced, replacement selection should start with the old component, not with a browser search. Five numbers define the fit, and all five can be read with a tape measure, a caliper, and a count of teeth.
- Spline count and spline diameter. The camshaft interface is almost always splined. Count the splines and measure the shaft diameter; 10-spline, 1.5 in. is common on American-type axles, but other configurations exist, and a wrong spline will wear out within weeks or refuse to go on at all.
- Arm length. Measure from the center of the worm-gear bore to the center of the pushrod eye. American-type units commonly come in 5-1/2, 6, and 6-1/2 in. lengths; European and Japanese units are usually identified by model number rather than length.
- Mounting pattern. The body can be a two-bolt mount for spring-brake installations or a three-hole mount for trailer axles. This is the first filter to apply, because it cannot be adapted easily.
- Worm-gear teeth count. Trailer-style three-hole adjusters are identified by the number of teeth on the worm-gear mount, with 10, 25, and 28 teeth being frequent. Confusing a 28-tooth unit with a 25-tooth unit produces a part that will not clock properly.
- Handing. The casting is either left or right. Reversing a unit side to side usually creates a control arm that points the wrong way and fouls the pushrod.
The same information can be organized as a quick reference:
| Specification | How to read it correctly | Typical value | What goes wrong if you miss it |
|---|---|---|---|
| Spline interface | Count the teeth on the camshaft and measure the shaft diameter | 10 splines, 1.5 in. on many American axles | The unit will not seat, or it rocks and destroys both parts |
| Arm length | Center of worm-gear bore to center of pushrod eye | 5.5, 6, or 6.5 in. depending on application | Stroke is too short or too long; brakes apply unevenly |
| Mounting pattern | Bolt layout and spacing on the adjuster body | Two-bolt or three-hole | Cannot be adapted with simple hardware |
| Worm-gear teeth | Count the teeth on a trailer-style mount | 10, 25, or 28 teeth | The unit will not clock to the correct angle |
| Handing | Left or right marking on the body | Left or right | Control arm points into the pushrod and binds |
Failure Modes: Why Automatic Slack Adjusters Stop Working
In our experience, most failed automatic slack adjusters die from lack of grease, not from manufacturing defects. The worm gear and clutch mechanism live in a compartment that needs regular chassis grease. When the grease is never renewed, the worm gear dries out, the internal clutch surfaces glaze, and the unit stops taking up clearance. The stroke grows slowly at first, then suddenly.
A second common failure is contamination. Road grime and moisture find their way past worn seals and mix with old grease into an abrasive paste. The spline bore can also fret against the camshaft if the unit was installed on splines that were already damaged or if the original oil seal was missing.
Warning: Do not try to free a seized automatic slack adjuster with heat or a pry bar. The internal clutch is calibrated to slip at a specific torque; forcing a seized unit destroys that calibration, and the behavior of the unit after that cannot be trusted.
Watch for these signs:
- Brake drag and a drum that is noticeably hotter on one corner.
- Pushrod stroke above the upper limit on the stroke gauge.
- Grabby or pulling braking from the affected axle.
- Uneven lining wear across the same axle.
Cross-Referencing an Automann Automatic Slack Adjuster
Automann parts carry their own numbering system, and many replacement suppliers list those numbers next to the original-equipment references they are intended to fit. When you order a replacement for a specific vehicle, use the casting number on the old unit as the primary key and treat the brand number as a secondary reference. Because the aftermarket organizes itself around OE references, the same physical component can be ordered under an Automann number, a Haldex-compatible number, or a direct OE casting number, depending on the supplier.
A Scania fitment, for example, commonly follows the Haldex 72660-series reference, while a Daewoo bus application is usually found under 79250 or 79251. Once you know the OE reference, the supplier's replacement list confirms that the dimensions above will match.
Record before removal. Photograph the casting number, note the side of the axle, and write down the vehicle model and year. Thirty seconds of documentation prevents most misorders.
Buying by measurement is easier when the supplier publishes the replacement data openly. A parts manufacturer that publishes full replacement numbers, for example, lets you verify the application with the old unit still in your hand.
Match the Application: Trailer, American Truck, European Truck, and Beyond
Trailer axles. Trailers almost always use a three-hole automatic slack adjuster, and the fitment is defined by the worm-gear teeth count plus the arm length. Because trailers are subjected to loading height changes and constant reverse maneuvering, the adjuster must tolerate heavy use in both directions.
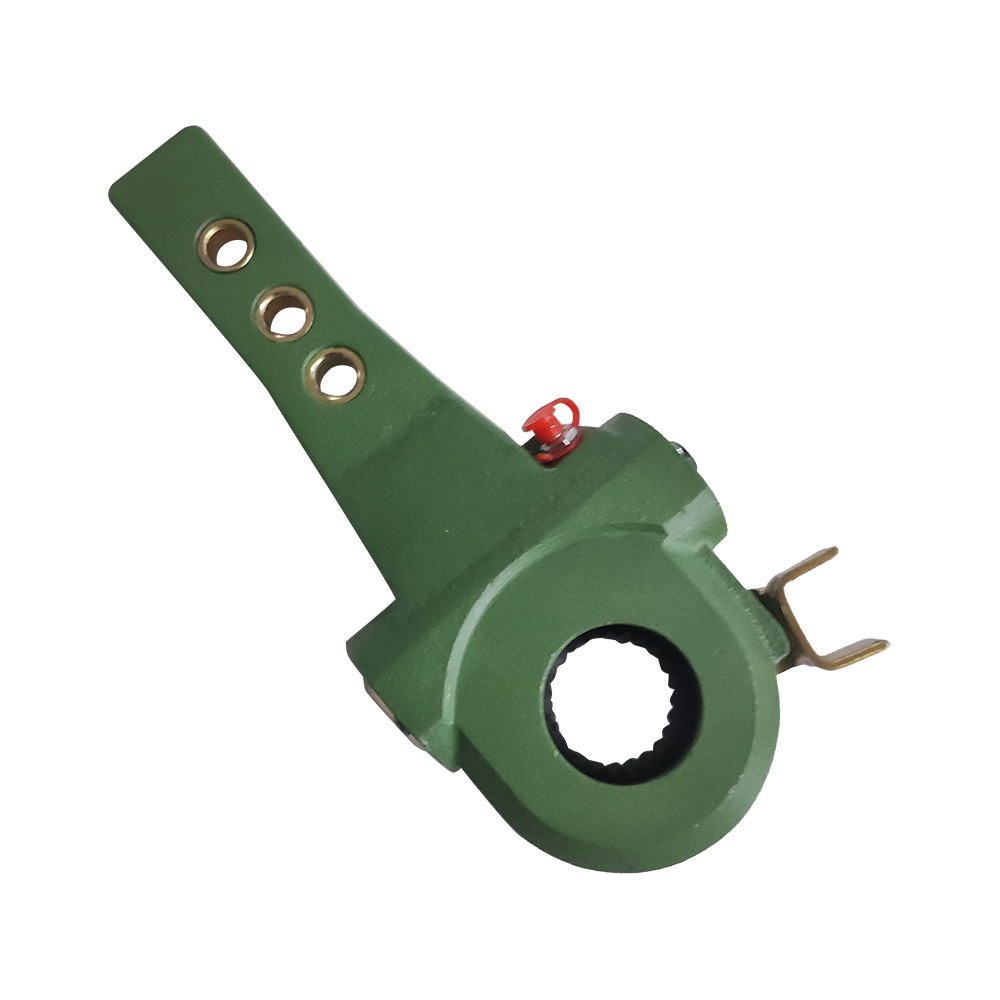 AA1 Trailer Automatic Slack Adjuster with 25 Teeth and Saddle Control ArmThis three-hole trailer slack adjuster suits heavy trailer axles that face loading height changes and constant reverse maneuvering, offering the worm-gear fitment and arm lengths common in this application.View Product →
American-type heavy trucks. Splined mounting and a longer arm define this segment. The 10-spline, 1.5 in. interface dominates, and 6 in. arms are common on steering axles. A BD-style unit with a 6 in. arm covers a large share of the older fleet still on the road.
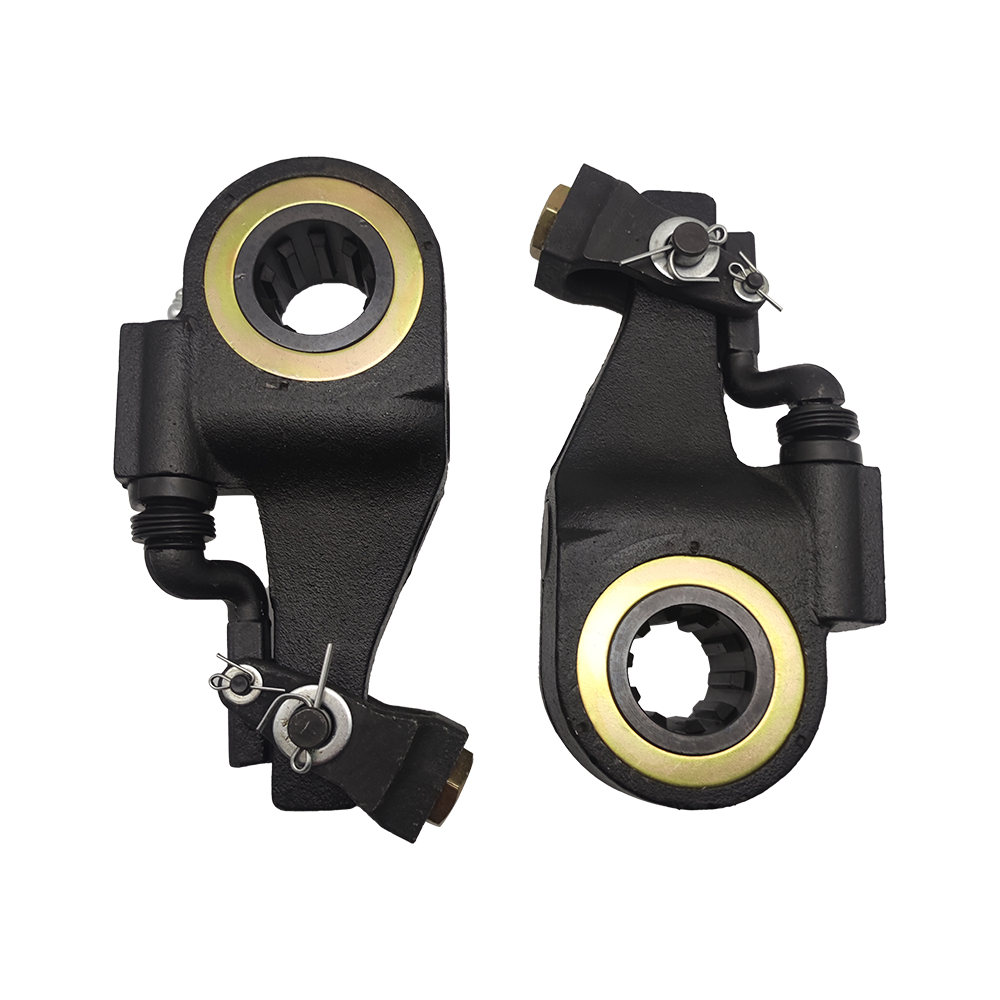 BD-Style 6-Inch Automatic Slack Adjuster for American Heavy TrucksA classic Bendix-style unit with a 1.5-inch 10-spline interface and 6-inch arm, covering a large share of older American steering axles still in service.View Product →
European trucks and buses. The S-ABA and AA1 families are model-specific, and the part number carries the application information. Scania, MAN, and Mercedes-Benz each have distinct references; ordering from the vehicle list is safer than ordering by dimension alone, because the control arm geometry differs between models in ways a tape cannot always catch.
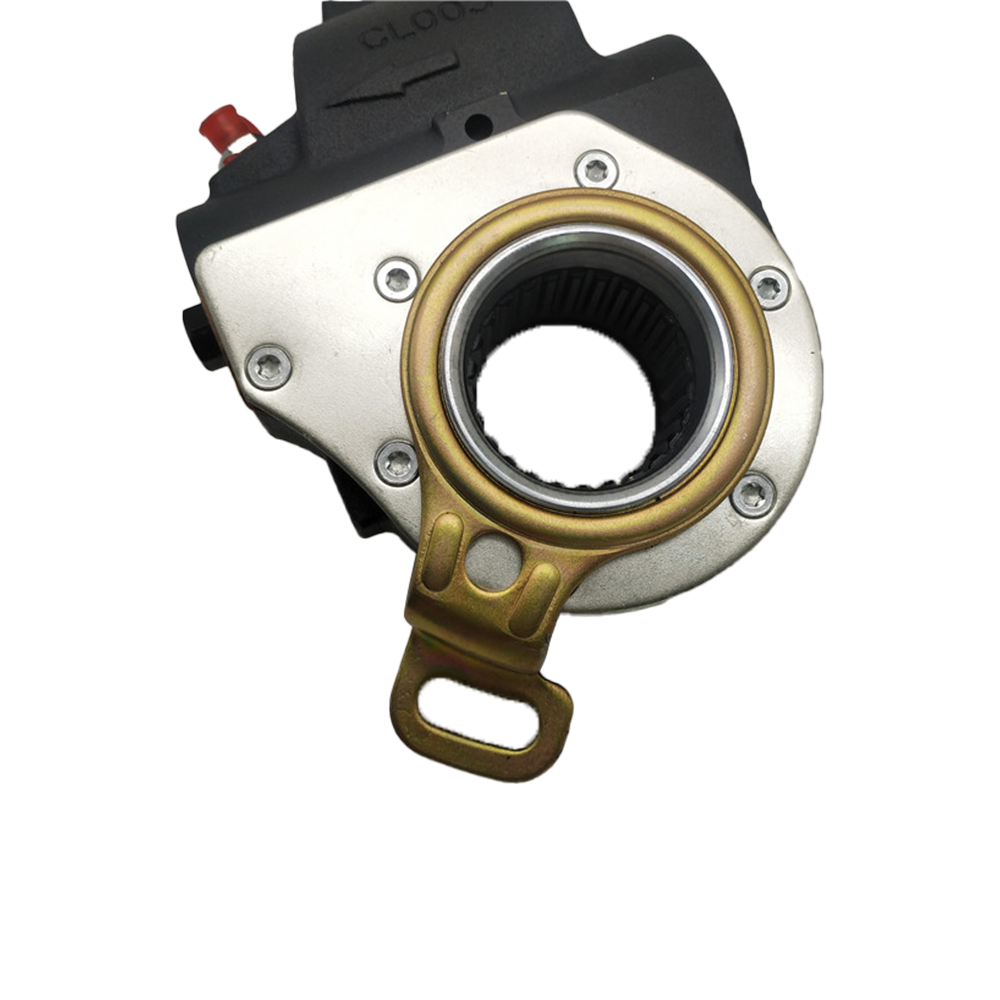 S-ABA European Automatic Slack Adjuster for MAN Trucks, OEM 81506106261Model-specific S-ABA adjuster for MAN trucks, with 26 teeth, offset 56 degrees, and a longer control arm. Use the OEM reference to ensure correct geometry for European applications.View Product →
Japanese, Korean, and Russian markets have their own conventions. Hino, Daewoo, and MAZ/PAZ applications are best handled by checking the reference against the vehicle model rather than assuming a universal spline standard.
Installation: The Half-Turn That Keeps Linings Alive
A new automatic slack adjuster performs its own long-term adjustment, but the initial setup is still manual. Follow the same sequence on every wheel-end:
- Clean the camshaft splines with a wire brush and apply a light coating of anti-seize compound to the splines only. Slip the adjuster on and torque the clamp bolt to the value specified on the casting or in the catalog.
- Connect the control arm to the brake chamber pushrod yoke. The control arm should be roughly at a right angle to the pushrod when the brakes are applied; adjust the yoke stud if needed.
- Turn the hex adjusting bolt in the direction that removes slack until the lining just touches the drum and the wheel becomes slightly hard to turn.
- Back the adjusting bolt off by a half turn so the wheel spins free, then apply and release the service brakes several times to let the unit find its own working stroke.
- Check the stroke at full application, typically around 100 psi, and confirm it sits in the acceptable band, usually between 1-1/2 and 2 in. for standard installations.
Do not use the manual adjusting bolt later to tighten the stroke further. The automatic mechanism will not hold a stroke tighter than its design window, and repeated manual tightening only damages the internal clutch.
Recheck after the first week. Re-torque the clamp bolt and inspect the control arm after 1,000 to 3,000 km. This catches the two most common installation failures: a clamp bolt that worked loose during initial seating and a control arm that was tightened at the wrong angle.
Replacing an Automann automatic slack adjuster does not require brand loyalty. Read the splines, the arm length, and the mounting; write down the casting reference; buy a functional equivalent from a supplier that publishes the cross-reference; and finish with the half-turn setup and a recheck. That sequence takes about twenty minutes per wheel-end and cuts the risk of a brake-stroke citation, an uneven-wear complaint, or a second tow for the same corner. The brand on the box is a coincidence of inventory; the dimensions and the installation discipline are what stop the truck.