English
 русский
 Español
 Deutsch

Content
- 1 Adjusting a Stemco Automatic Slack Adjuster: The Process That Actually Works
- 2 Why an automatic adjuster adjusts itself, and when it stops
- 3 The number that matters is push rod stroke
- 4 Installation angle is the most common root cause
- 5 When to replace instead of adjust
- 6 Matching a replacement: the five numbers that decide fit
- 7 What to take away
Adjusting a Stemco Automatic Slack Adjuster: The Process That Actually Works
An automatic slack adjuster is supposed to take care of itself. When it stops doing that, the hex on the housing is almost never the answer.
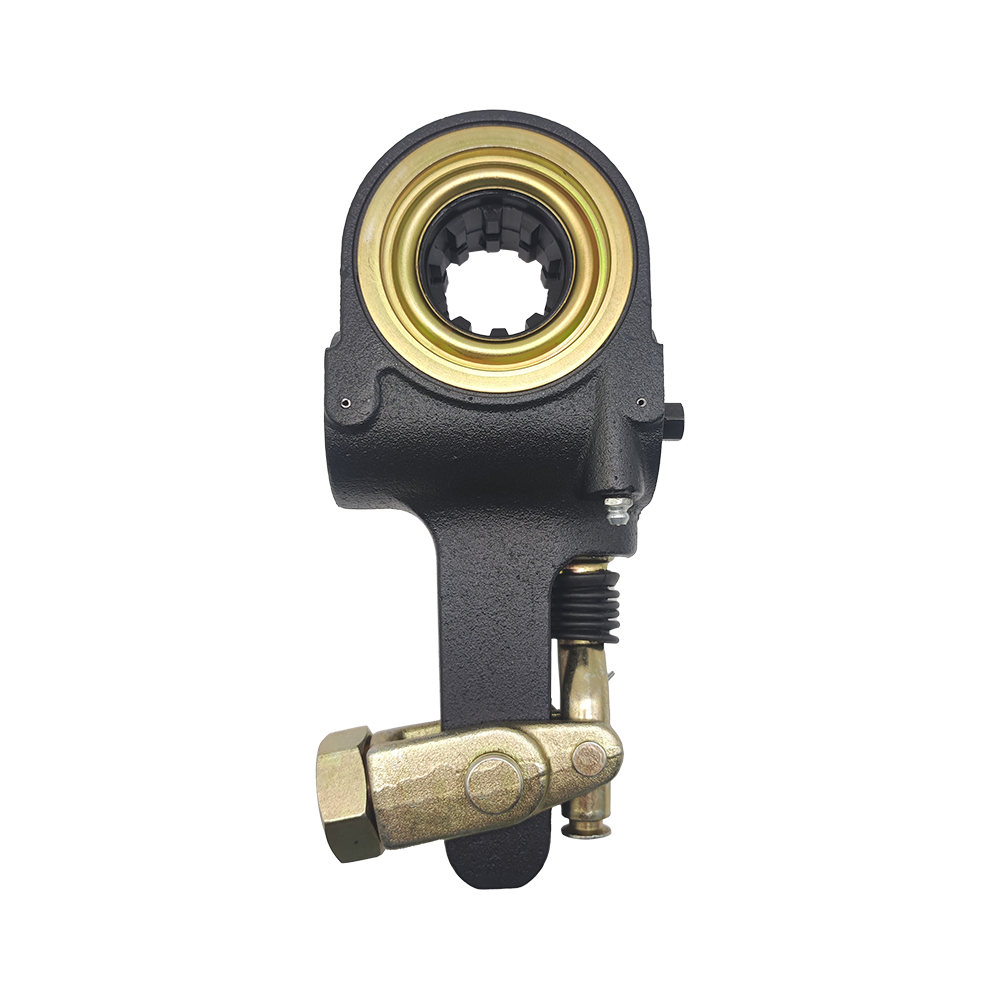
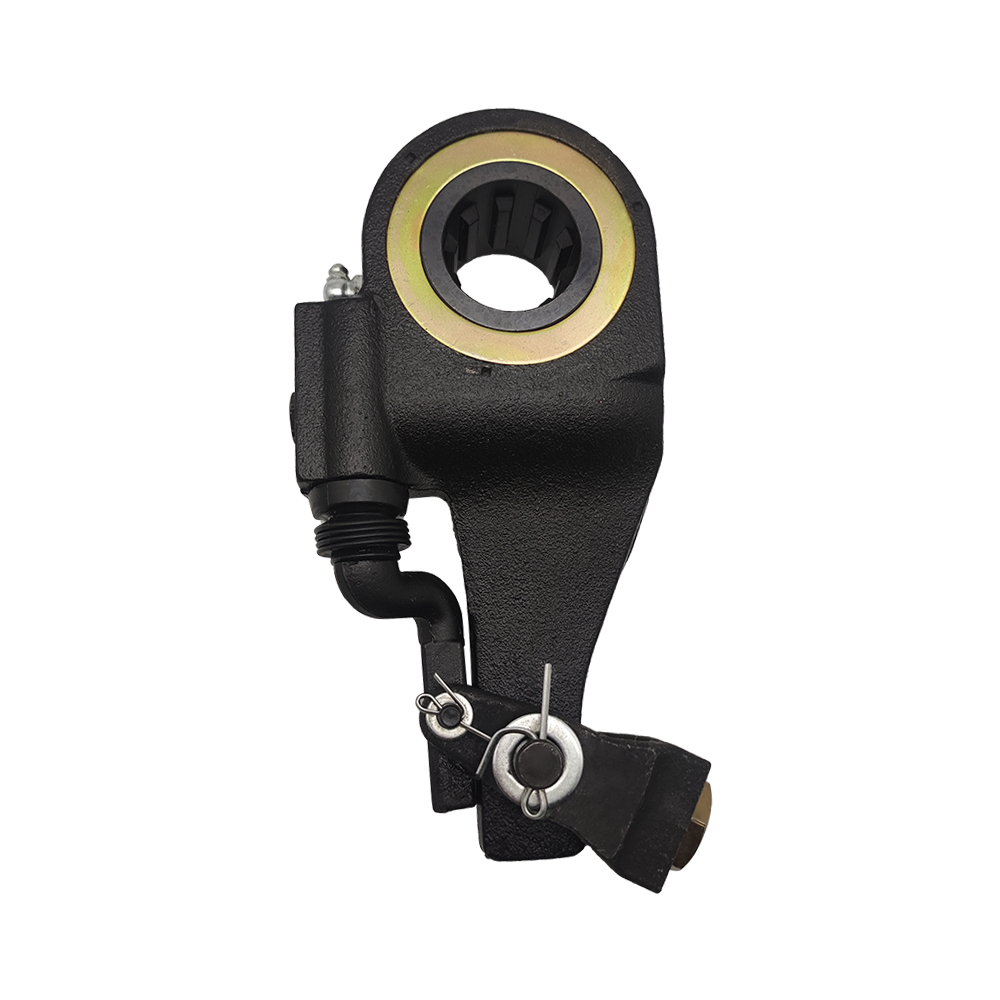
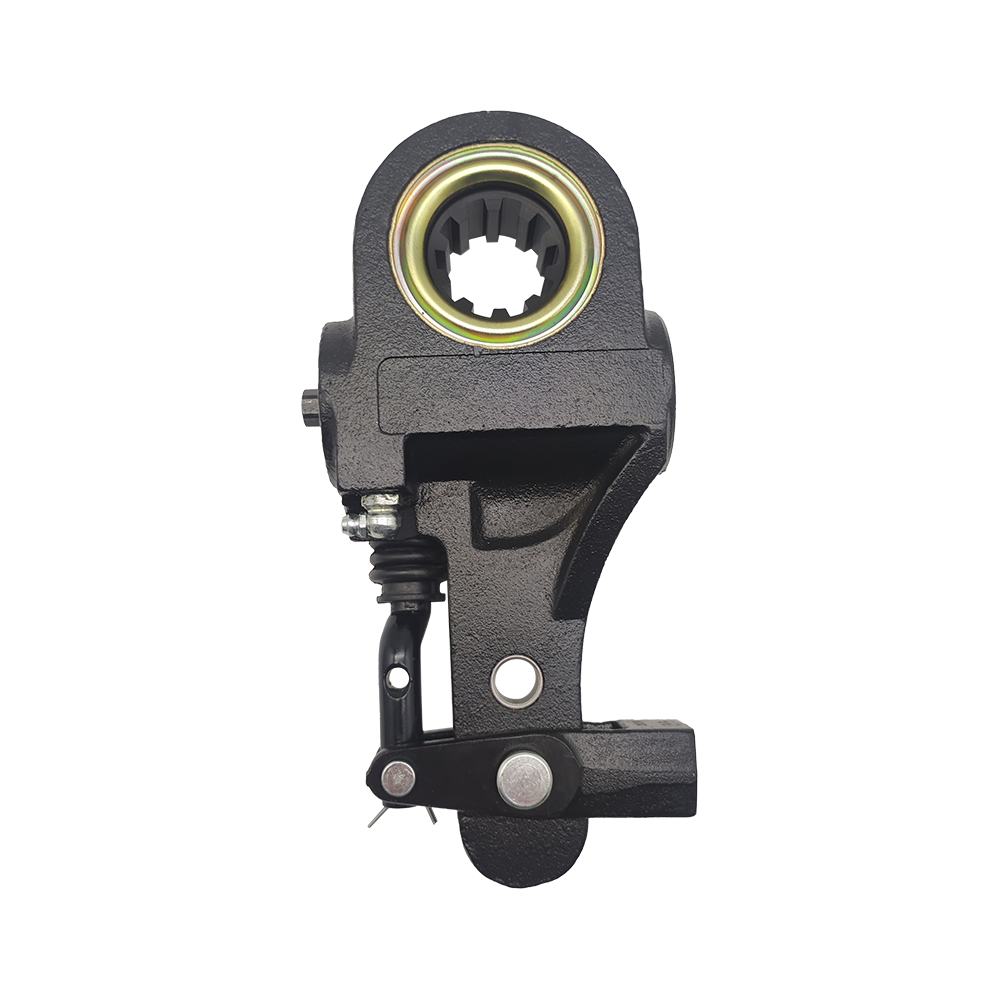
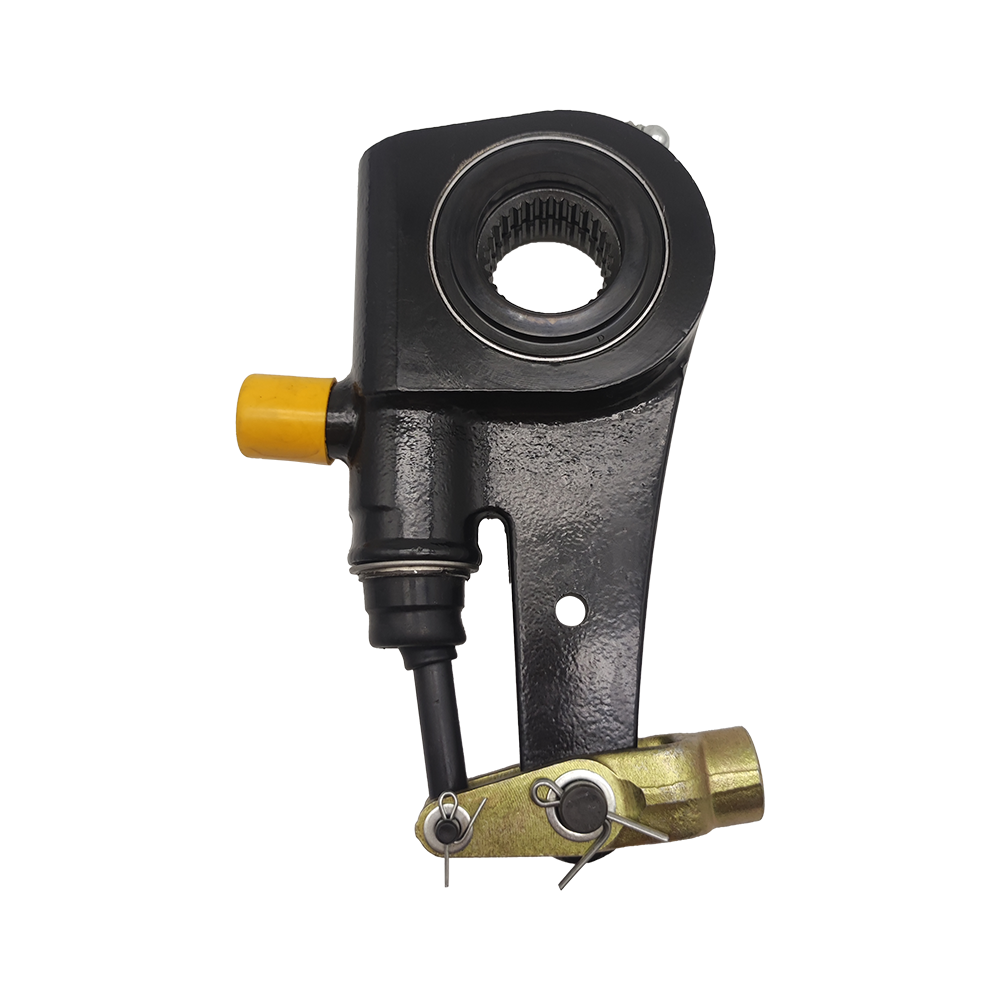
Here is the short version: a Stemco automatic slack adjuster has no routine manual adjustment procedure. There is a hex override on the housing, and it exists for initial installation and for backing the mechanism off during service. It is not a maintenance point. What you actually do is verify three things — installation angle, push rod stroke, and whether the internal clutch still engages — and then decide between repair and replacement.
That distinction matters more than it sounds. Shops that treat an automatic adjuster like a manual one usually end up with a brake that reads fine in the yard and runs out of stroke three weeks later.
Why an automatic adjuster adjusts itself, and when it stops
Inside the housing, a one-way clutch drives the worm gear. Every time the service brake is applied, the adjuster measures how far the arm travelled. If the stroke is longer than the clearance target built into the mechanism, the clutch engages, the worm turns, and clearance comes down. If the stroke is already within target, the clutch simply slips and nothing happens.
That threshold is the whole design. It is also why a healthy adjuster ignores the normal growth of a hot drum: if it reacted to every bit of thermal expansion, it would over-tighten the shoes and the brakes would drag.
An automatic slack adjuster rarely fails because nobody adjusted it. It fails because something else stopped it from adjusting.
The practical consequence: the adjuster only works while the push rod is still producing enough movement for the clutch to see. A weak brake chamber, a sticking camshaft, a restricted air line or a contaminated valve can all cut stroke enough that the adjuster sits idle. Then it gets blamed for a fault it did not cause.
The number that matters is push rod stroke
Forget whether the adjuster feels tight. Measure stroke.
- Build system pressure to governor cut-out, then shut the engine off.
- Make a full brake application at roughly 90 to 100 psi and measure how far the push rod extends from its resting position.
- Release fully, let the chamber return, and repeat the application. Measure again.
- Compare the reading against the limit for that chamber size. On most standard-stroke commercial chambers the working ceiling is around 1.75 inches (45 mm). Long-stroke chambers have their own figure, so check the OEM data.
- If stroke grows with each application, the adjuster is not holding. If it stays long but constant, installation angle is the first suspect.
| What you check | Healthy reading | What a failure tells you |
|---|---|---|
| Push rod stroke at 90–100 psi | Within the OEM limit, typically under 1.75 in (45 mm) | Adjuster is no longer taking up clearance |
| Arm angle at mid-stroke | Roughly perpendicular to the push rod | Clutch never enters its adjustment window |
| Stroke growth over three applications | Stable | Internal clutch slipping or worm stripped |
| Side-to-side play on the camshaft spline | None detectable by hand | Spline or bore wear; replace rather than adjust |
| Grease at the fitting | Fresh grease moves through | Dry or contaminated internals |
Note: Chock the wheels and release the parking brake before measuring. A reading taken with the spring brake applied will come up short and hide a genuine fault.
If this is your first time running the check, the tool list and the order of operations are set out step by step in our guide to the automatic slack adjuster adjustment process.
Installation angle is the most common root cause
An automatic adjuster only adjusts within a specific arc of arm travel. Outside that arc the clutch never engages, which means the unit is mechanically sound and functionally dead at the same time.
Three things push it outside that arc:
- The arm was installed on the camshaft spline one or two teeth off, so the push rod bottoms out before the clutch sees the stroke it needs.
- The wrong side unit was fitted. Left and right adjusters are mirror images, and a reversed unit adjusts in the wrong direction.
- The push rod was shortened, or the chamber was replaced with a different stroke length, changing the geometry the adjuster was built around.
Setting it correctly means fitting the arm so the push rod and the adjuster arm sit roughly perpendicular at mid-stroke, then confirming the result with a full application. If the arm angle looks right but stroke is still long, the adjuster itself has failed.
When to replace instead of adjust
There is a short list of conditions where no amount of adjustment helps:
- Stroke exceeds the limit on a fresh application and keeps growing.
- The hex override spins freely with no resistance, or springs back.
- There is visible radial movement where the adjuster sits on the camshaft spline.
- Grease is escaping past a worn seal, or oil from a leaking wheel seal has thinned the grease.
- The clutch does not hold when the arm is loaded by hand with the brake released.
Any one of those means the internal mechanism is past its service life. On a fleet the arithmetic is simple: a brake that will not hold adjustment is an out-of-service defect, and the cost of a roadside inspection or a scored drum outweighs the price of the part many times over.
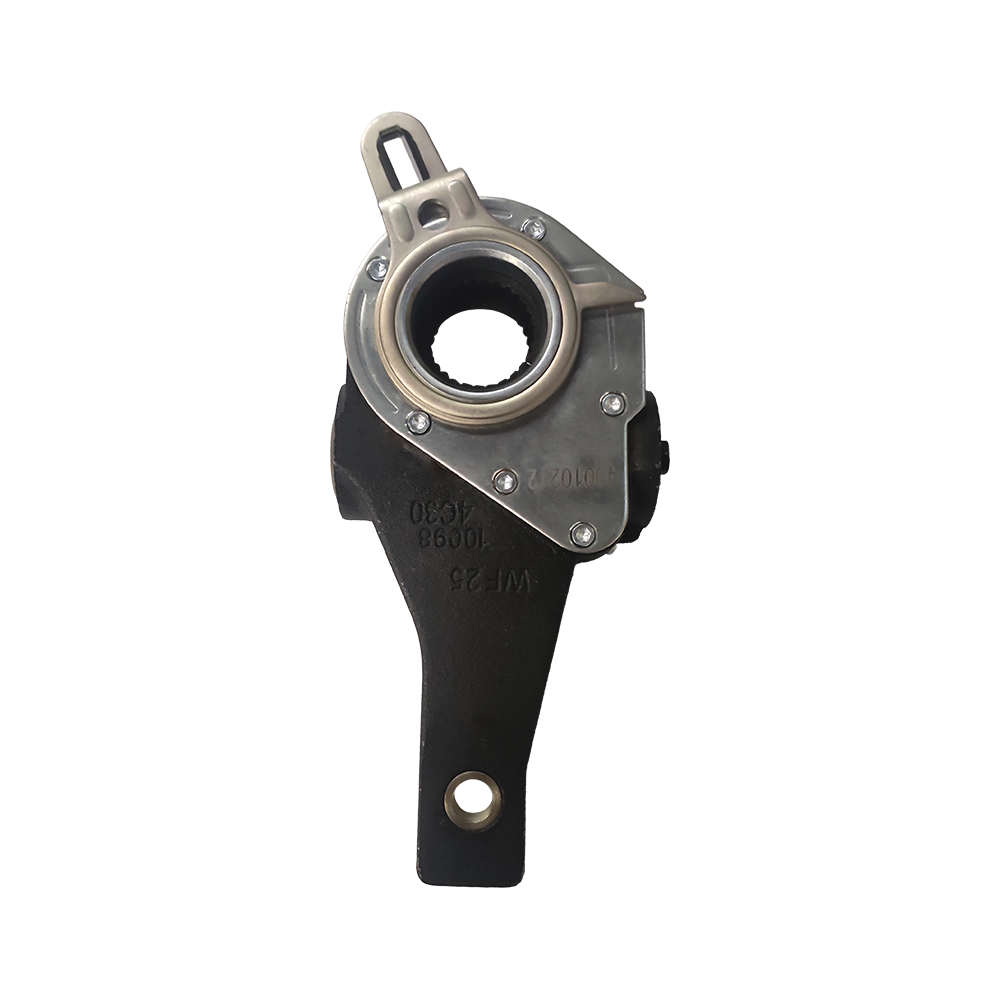
On European truck applications, an AA1-pattern unit with the correct spline count and arm length restores the whole function at once — geometry, clutch window and stroke target all come back together.
Matching a replacement: the five numbers that decide fit
Automatic slack adjusters are not interchangeable by appearance alone. Two units can look identical on the bench and be three millimetres apart on the spline. Before ordering, confirm:
- Spline tooth count and spline diameter, for example 10 spline at 1.5 inch diameter, or 24, 26 and 28 teeth on European and Japanese applications.
- Arm length, measured from the camshaft centre to the clevis pin hole.
- Clevis bore size, typically 0.5 inch or 5/8 inch.
- Left or right hand.
- Adjuster type, whether AA1, S-ABA or an American BD, RW, AS or CB pattern, because the clutch behaviour and stroke window differ between them.
Trailer units usually add a hole-pattern requirement on top of the spline. A 25-tooth, three-hole adjuster will not substitute for a 28-tooth, three-hole equivalent even when both mount to the same bracket.
On North American equipment the AS, BD, RW and CB families use different nominal geometries, and a 10-spline, 1.5 inch diameter unit is a common anchor point for cross-referencing. Match the numbers, not the catalogue picture.
What to take away
Adjusting a Stemco automatic slack adjuster is a verification task, not a wrench task. Set the installation angle so the adjuster can see the stroke it needs, measure push rod travel at full application pressure, and compare that figure against the limit for the chamber. If stroke is correct and stable, the adjuster is doing its job no matter how it feels by hand. If stroke is long and growing, the unit has reached the end of its service life. Replace it, and check the chamber, camshaft and air supply at the same time, because those are the conditions that finished it off in the first place.
Good practice: Record the stroke figure for every wheel position at each PM service. A trend is far more useful than a single pass or fail reading.
Two habits prevent most of these failures: greasing on schedule rather than when a fitting squeaks, and logging stroke at every service. Our notes on extending brake adjuster life cover the lubrication intervals and inspection points in more detail. Both cost almost nothing, and both push replacement out by a long way.